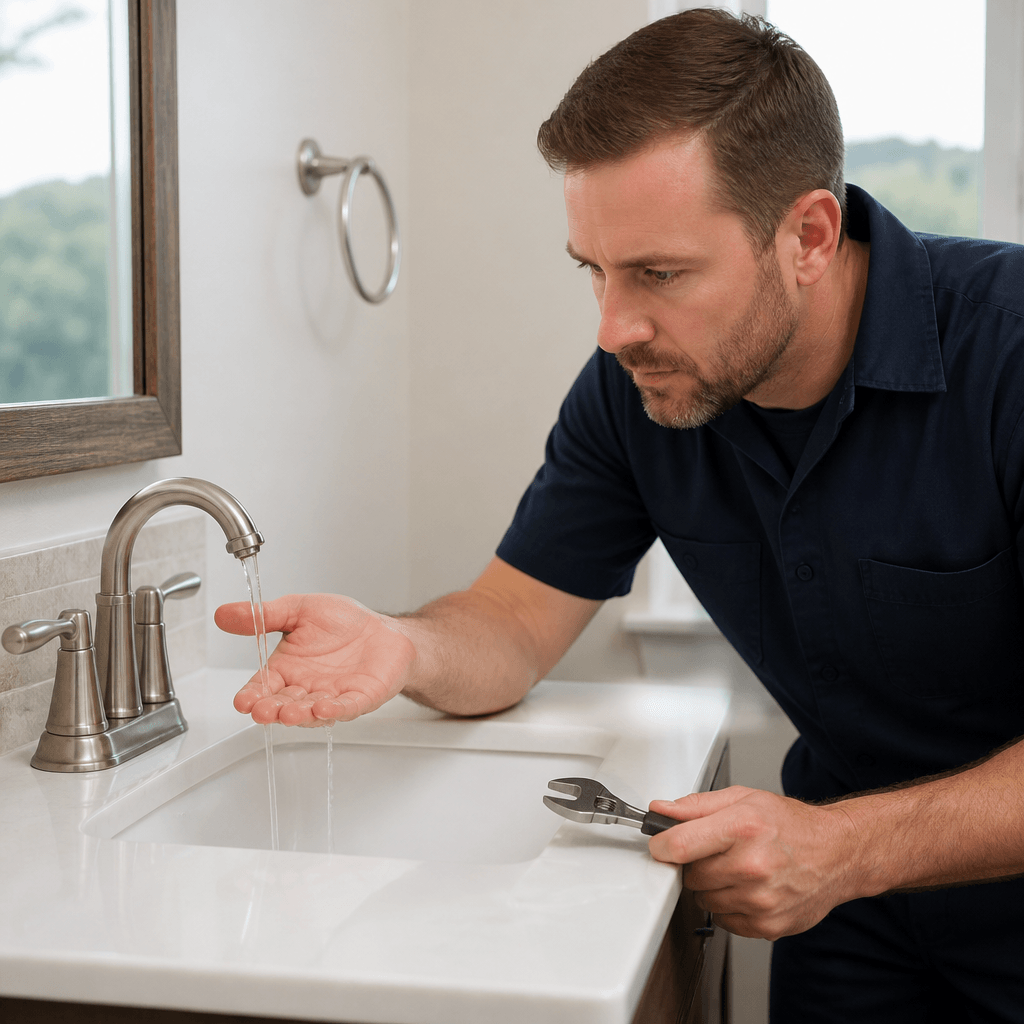

• Replace worn plumbing fixtures before winter to reduce leak risks and avoid surprise repairs when cold weather adds extra stress to your system.
• Check sinks, toilets, showers, hose bibs, and shutoff valves for cracks, rust, drips, or loose parts so you can catch problems early.
• Follow a simple step-by-step process for safe fixture replacement, test each fixture for leaks, and avoid common DIY mistakes that can lead to bigger plumbing issues.
Why Fixture Replacement Matters Before Winter
As the weather starts to cool in Las Flores, small plumbing issues can turn into bigger problems fast. A worn faucet, loose shutoff valve, or aging toilet may seem minor now, but cold-season stress can make those weak points fail when we need them most. Taking care of fixture replacement before winter season helps us stay ahead of leaks, water waste, and surprise repairs.
When fixtures start dripping or showing signs of age, they often do not get better on their own. Pressure changes, daily use, and colder nights can all make old parts work harder than they should. That is why we encourage homeowners to act early and avoid the rush that comes with peak cold weather.
A few smart updates now can protect comfort later. It also gives us time to spot hidden issues before they spread to other parts of the plumbing system. If we wait too long, a simple fixture problem can become an urgent call for emergency plumbing service at the worst possible time.
How We Prepare Fixtures for Cold Weather
We start by checking the fixtures that get the most use each day. That includes sinks, tubs, showers, toilets, hose bibs, and shutoff valves because these parts often show wear first. When we look at fixture replacement before winter season, we are really looking for any weak spot that could fail once temperatures drop.
Next, we match the right replacement to the right problem. A slow drip may point to worn seals, while a wobbly handle or corroded base may mean the whole fixture is near the end of its life. For homes with older plumbing, planning the work now helps us avoid larger issues later and keeps the system ready for colder months.
Step-by-Step Fixture Replacement Guide
🔍 Step 1: Inspect All Visible Fixtures
Look closely at sinks, toilets, showers, hose bibs, and exposed valves for leaks, rust, cracks, or loose parts. Small signs of wear often show up before a fixture fails, and finding them early gives us time to act before winter adds more strain.
📋 Step 2: Make a Replacement List
Write down every fixture that is damaged, outdated, or showing repeated problems. This helps us stay organized and focus on the items that matter most for fixture replacement before winter season.
🔧 Step 3: Shut Off the Water Supply
Turn off the water before removing any fixture so we can work safely and prevent flooding. This step matters because even a small slip can send water across floors and walls.
🧰 Step 4: Remove the Old Fixture Carefully
Disconnect the old fixture slowly and keep track of fittings, washers, and connectors. Careful removal helps us avoid damaging pipes or mounting surfaces that may still be usable.
🧼 Step 5: Clean the Installation Area
Wipe away old caulk, mineral buildup, and debris before placing the new fixture. A clean surface allows the new part to sit properly and lowers the chance of leaks.
🛠️ Step 6: Install the New Fixture
Set the new fixture in place and tighten the connections evenly. Making sure everything lines up correctly is important because uneven pressure can lead to drips or loose parts later.
🚿 Step 7: Test for Leaks and Function
Turn the water back on and watch the fixture closely for leaks, weak flow, or unusual movement. Testing right away helps us catch small problems before they turn into bigger repairs.
📅 Step 8: Check Again After a Few Days
Use the fixture normally and take one more look after a few days of use. This final check helps confirm that the installation is holding up and ready for winter.
Common Mistakes to Avoid
Many DIY fixture jobs go wrong because the small details get rushed. Cold weather makes that even riskier, since an issue that seems minor today can become a bigger plumbing headache later. Knowing the most common mistakes helps us avoid damage, wasted time, and repeat repairs.
⚠️ Mistake 1: Skipping the Full Inspection
Some people replace only the fixture they can see leaking and ignore nearby signs of wear. That happens because the problem seems small, but hidden damage often shows up around the same time. We can prevent this by checking all nearby fixtures, shutoff points, and visible connections before starting.
⚠️ Mistake 2: Forgetting to Shut Off the Water
A lot of DIY trouble starts when the water is left on during removal. People get distracted or assume the line is already dry, which can lead to sudden spraying or flooding. We avoid this by shutting off the supply first and confirming the water is fully off before any parts come loose.
⚠️ Mistake 3: Using the Wrong Replacement Part
Not every fixture fits every setup, and using the wrong size or type can cause leaks or poor operation. This usually happens when people buy parts too quickly without checking measurements or connection types. We can prevent it by matching the new fixture to the existing plumbing before installation begins.
⚠️ Mistake 4: Over-Tightening Connections
It is common to think tighter always means safer, but too much force can crack fittings or damage seals. That mistake usually happens when someone wants to stop a leak fast and keeps turning the wrench. We prevent it by tightening slowly, checking alignment, and stopping once the connection is secure.
⚠️ Mistake 5: Skipping the Leak Test
Some DIY projects end as soon as the fixture is in place, with no real follow-up check. That happens because the job looks finished, but small leaks can stay hidden until they cause damage. We avoid this by testing the fixture right away and checking it again after normal use.
Frequently Asked Questions
Why should we handle fixture replacement before winter season?
Yes, it is smart to handle fixture replacement before winter season because colder weather can put extra pressure on weak plumbing parts. Replacing worn fixtures early helps reduce the chance of leaks, shutdowns, and costly emergency repairs.
Which fixtures should we check first before colder weather arrives?
Yes, we should check sinks, toilets, showers, hose bibs, and shutoff valves first. These are the fixtures most likely to show wear, and they are also the ones that can cause the most trouble if they fail during colder months.
How do we know if a fixture needs replacement instead of repair?
Yes, a fixture often needs replacement when it has repeated leaks, visible corrosion, cracks, or loose parts that keep coming back. If a repair only solves the issue for a short time, replacement is usually the better long-term choice.
Can a small drip really become a bigger winter problem?
Yes, a small drip can turn into a bigger winter problem if it is left alone. Cold weather can make worn parts more brittle and increase pressure on weak points, which raises the risk of sudden failure.
Is fixture replacement before winter season something homeowners can do themselves?
Yes, some simple fixture swaps can be handled by experienced homeowners with the right tools and careful steps. Still, if the fixture is connected to older plumbing, shows hidden damage, or does not stop leaking after installation, professional help is the safer choice.
Ready for the Cold Season
Taking care of fixture replacement before winter season helps us protect comfort, reduce stress, and avoid sudden plumbing trouble. When we inspect early, choose the right parts, and test everything carefully, we give our home a better chance of handling colder weather smoothly.
The best time to act is before a small issue turns into an urgent repair. If you want to stay ready for the season in Las Flores, we invite you to follow us on social media.